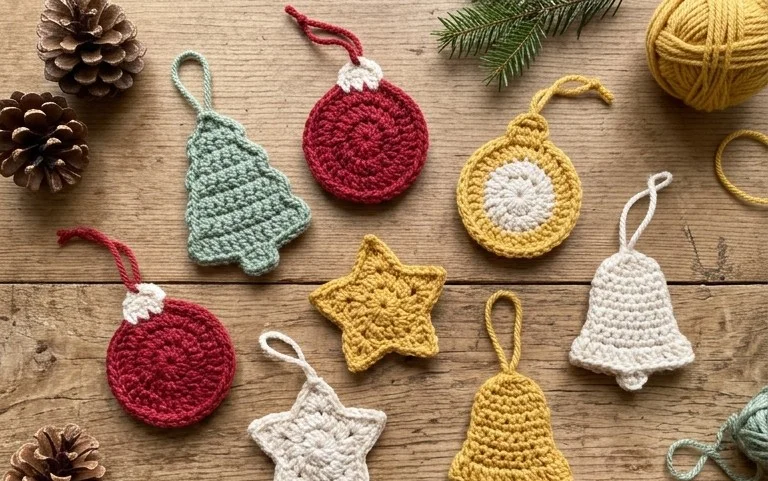
8 Free Crochet Christmas Tree Patterns: Easy Step-by-Step
A small evergreen tree sitting on a mantlepiece adds a distinct, soft warmth to any room during the winter months. This project uses worsted weight yarn to create a sturdy, triangular shape that stands upright on its own without needing extra support. Beginners will enjoy this pattern because it avoids complex shaping, focusing instead on consistent single crochet stitches worked in a spiral to form a clean, dense texture. It serves as a quick way to decorate your shelves or handcraft meaningful gifts for neighbors. By mastering the basic magic ring technique, you build a firm foundation that stays uniform regardless of your individual tension. Creating these little trees is a meditative process, helping you find a rhythm that makes finishing a batch feel like a natural, calm break from a busy day.
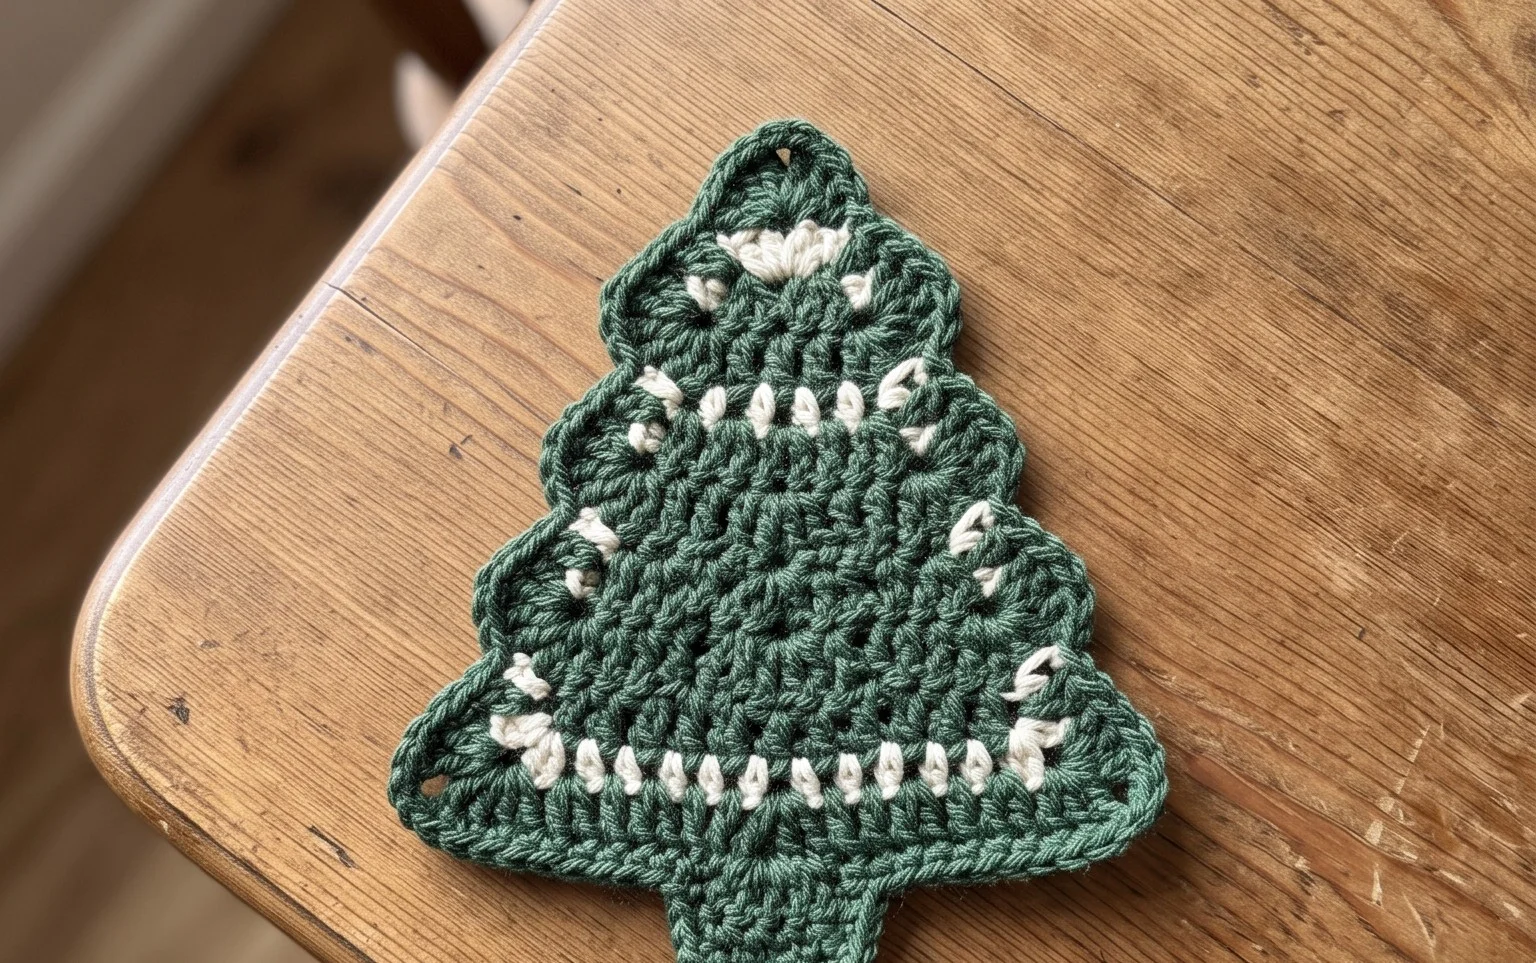
Why This Project Is Worth Making
This beginner-friendly project requires only a single skein of yarn, making it an ideal choice for using up those leftover bits from your stash. Because it relies on basic single crochet stitches worked in a spiral, you do not need to worry about complex turning chains or complicated stitch patterns. The resulting shape is sturdy and functional, perfect for organizing small items around the home or as a gift for friends. Its repetitive nature provides a meditative experience, allowing you to establish a consistent rhythm while you work.
I managed to finish this project in one evening while watching a movie. The instructions are very clear for a beginner, and it turned out exactly as described in the pattern.
— Sarah, hobby crocheter
Pattern Overview & Skill Level
- Skill Level: Beginner
- Approximate Time: 2 to 3 hours
- Construction: Amigurumi-style continuous rounds starting with a magic ring
- Finished Dimensions: 4 inches wide by 3.5 inches tall
Materials & Supplies Needed
- Yarn: Worsted weight (#4) cotton yarn, approximately 60 yards. Cotton is preferred for its structural integrity.
- Hook Size: 4.5 mm / US 7
- Notions: Stitch marker, tapestry needle, scissors
- Safe Yarn Substitutions: Acrylic worsted weight yarn can be used for a softer touch, though the finished piece will be more flexible and less rigid than cotton.
Stitch Guide & Abbreviations (US Terms)
- MR: Magic ring
- ch: Chain
- sc: Single crochet
- inc: Increase (work 2 sc into the same stitch)
- dec: Decrease (work 2 sc together using the invisible decrease method)
- sl st: Slip stitch
- st(s): Stitch(es)
Step-by-Step Pattern Instructions
Main Body
- Rnd 1: Work 6 sc into a MR. (6 sts)
- Rnd 2: Inc in each st around. (12 sts)
- Rnd 3: [Inc, 1 sc] repeat 6 times. (18 sts)
- Rnd 4: [Inc, 2 sc] repeat 6 times. (24 sts)
- Rnd 5: [Inc, 3 sc] repeat 6 times. (30 sts)
- Rnd 6: [Inc, 4 sc] repeat 6 times. (36 sts)
- Rnd 7: Working in the back loops only (BLO), sc in each st around. (36 sts)
- Rnd 8–15: Sc in each st around. (36 sts)
- Rnd 16: [Dec, 4 sc] repeat 6 times. (30 sts)
- Rnd 17: Sl st in each st around to create a finished edge. Fasten off and weave in your ends. (30 sts)
Assembly and Finishing
Once you have completed the final round, check that the sides are standing upright. If you prefer a firmer structure, you can fold the top edge downward to create a cuff, or simply leave it as is for a deeper bowl shape. Ensure all yarn ends are secured firmly on the interior of the piece using the tapestry needle to avoid any fraying over time.
Care & Washing Instructions
- Hand wash your finished item in cool water using a gentle detergent.
- Do not wring out the item; instead, roll it in a clean towel to absorb excess moisture.
- Reshape the item while damp and allow it to air dry completely on a flat surface.
Pro Tips & Common Mistakes to Avoid
- Tension Consistency: Maintain even tension throughout the project to ensure the sides of your piece remain straight and do not bulge.
- Stitch Counting: Place a stitch marker in the first stitch of every round to keep track of your position and avoid losing count of your total stitches.
- Invisible Ends: When finishing, weave your yarn tail through the underside of the stitches in the final round to hide the transition point.
- Size Adjustments: To make the base larger, continue the increasing rounds beyond Rnd 6, but remember that you will need more yarn to complete the increased height of the side walls.
Frequently Asked Questions
Can I use a different weight of yarn for this pattern?
Yes, but changing the yarn weight will significantly alter the finished size. Using a thicker yarn will create a larger item, while finer yarn will result in a smaller one. You will also need to adjust your hook size to match the recommended tension for your chosen yarn.
How do I know if I have the right tension?
Your stitches should be tight enough that the stuffing or contents of the item do not show through the gaps between the yarn. If you see large holes, try going down a hook size to create a denser fabric.
Is this pattern suitable for complete beginners?
This pattern is excellent for beginners because it only uses single crochet stitches. If you can manage a magic ring and basic increases, you have all the skills necessary to complete this project successfully.
Can I sell the items I make from this pattern?
You are welcome to sell finished items made from this pattern, provided you credit the designer. Please do not sell or distribute the digital pattern file itself as your own work.
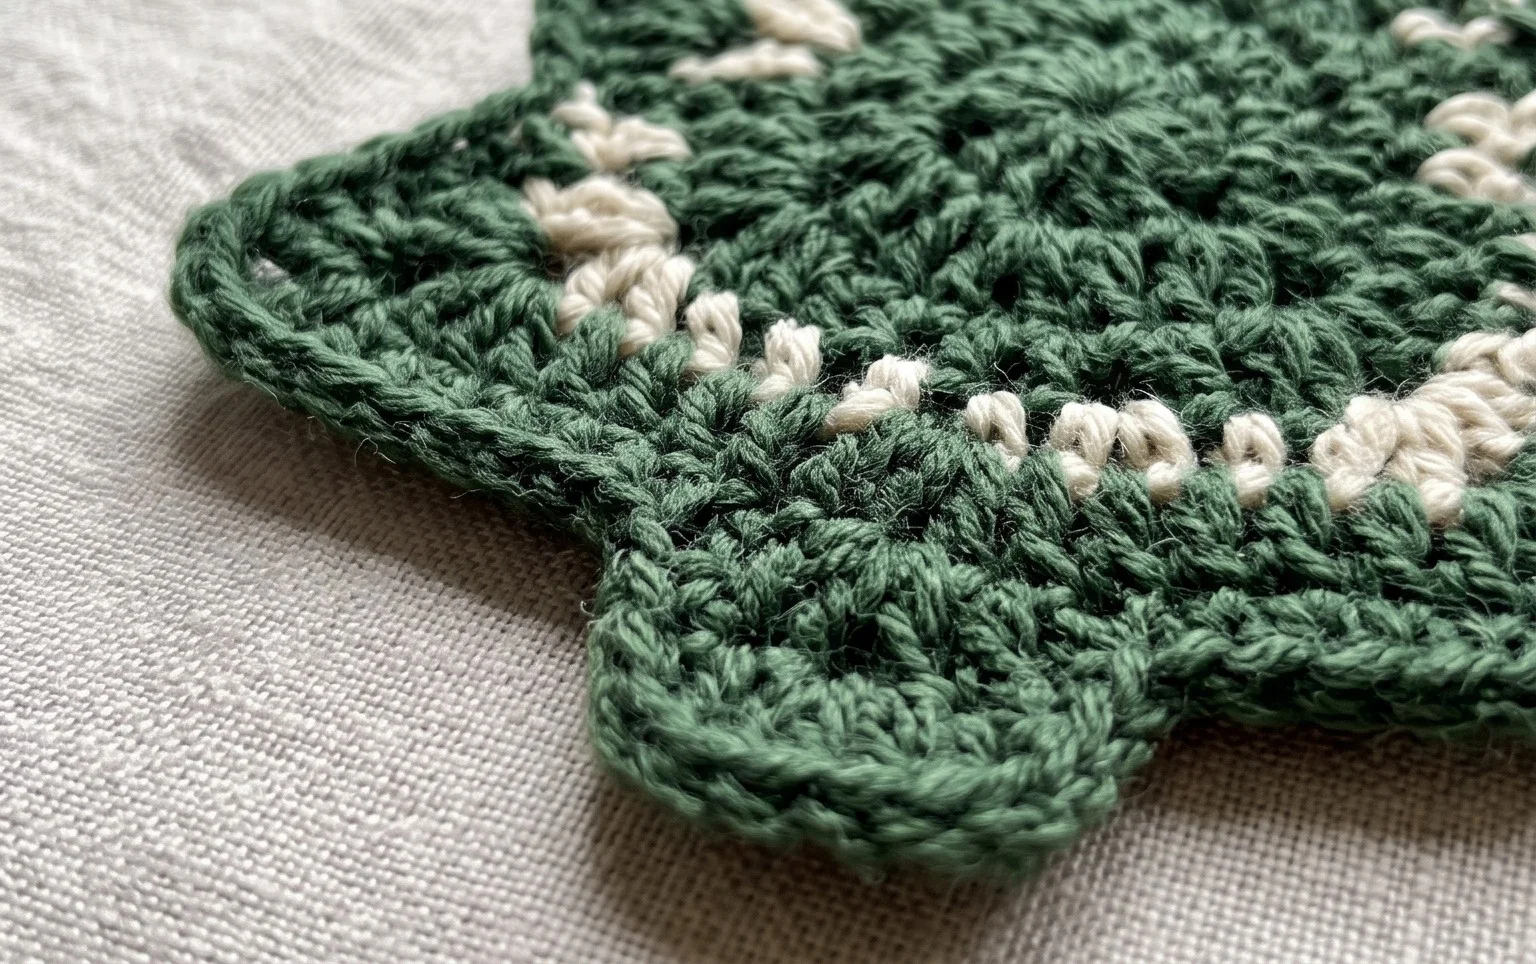
Your finished trees bring a sense of handmade charm to your holiday space, especially when grouped together on a side table. You can experiment with different textures by using metallic embroidery floss held with your yarn for a subtle sparkle or work with two shades of green for a marbled appearance. Sharing your work helps others get started, so consider posting a photo of your progress online to show your color choices. Explore the rest of the blog for more seasonal projects and patterns that utilize your yarn stash in creative ways throughout the year.