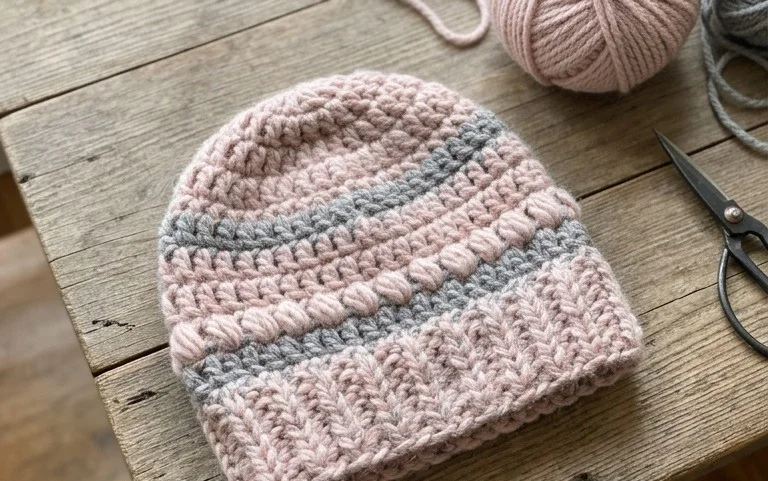
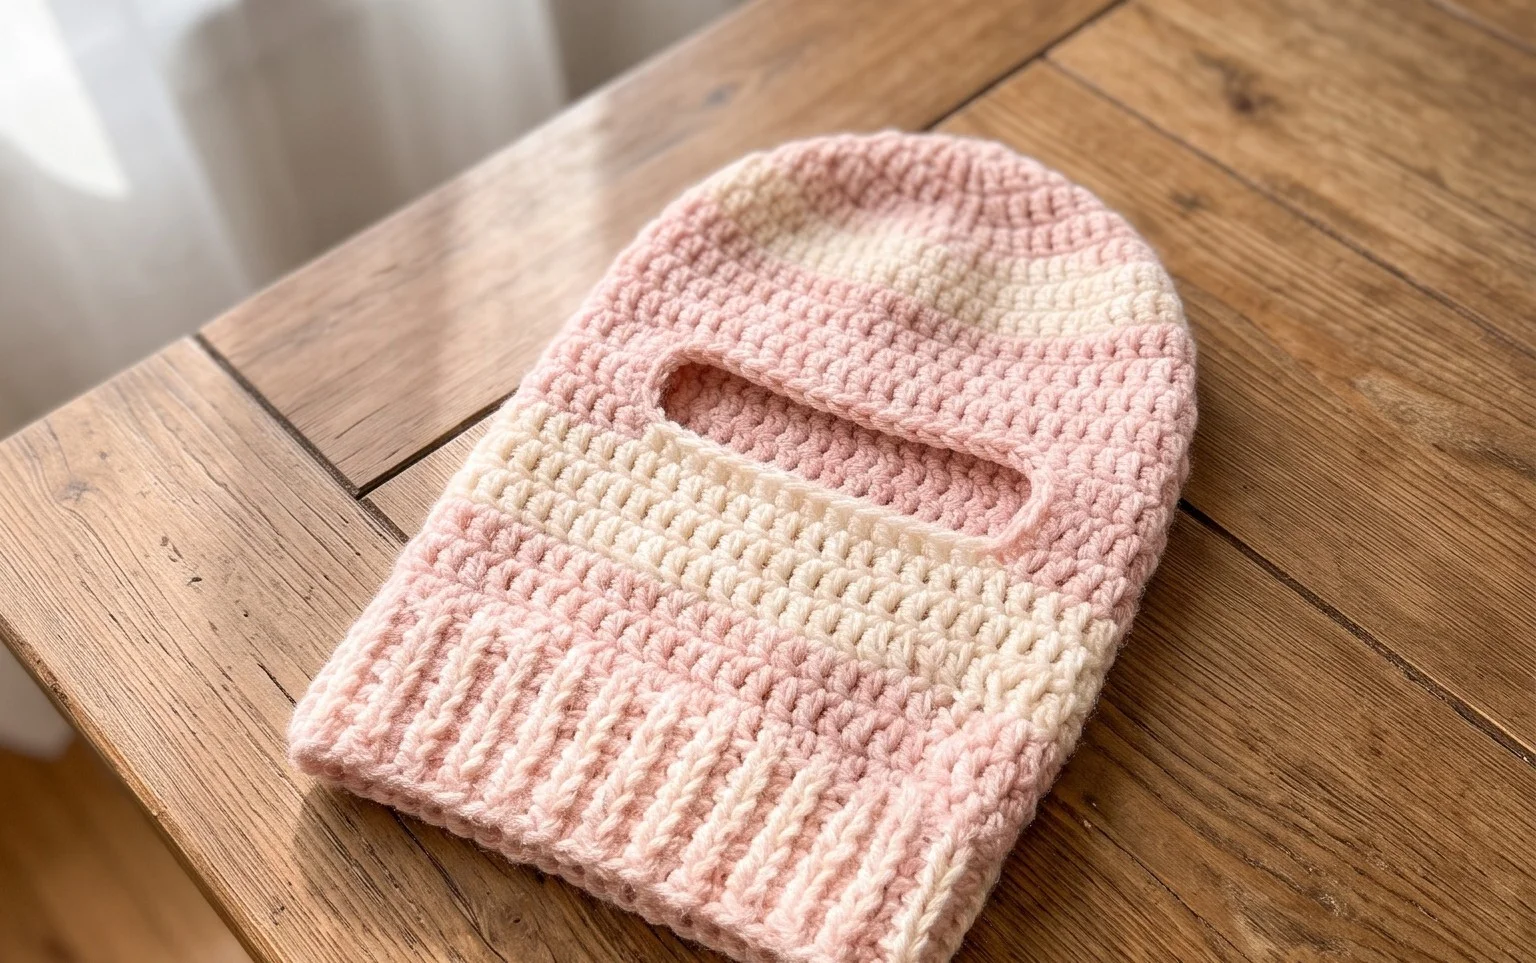
Easy Bow Hat Crochet Pattern with Step-by-Step Video
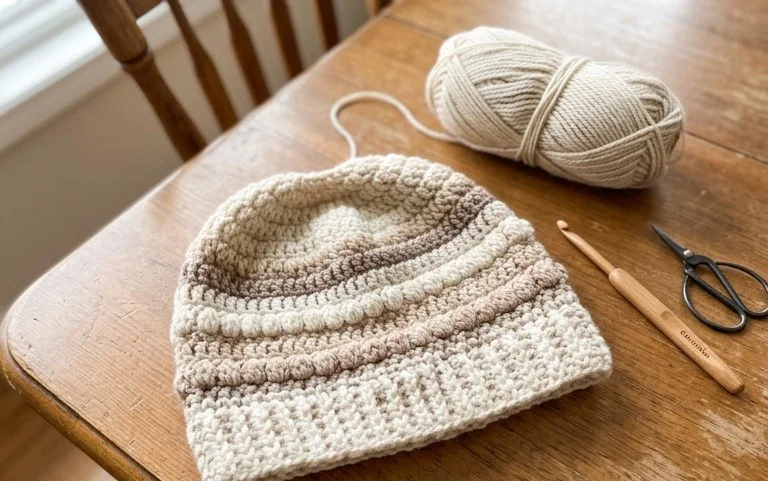
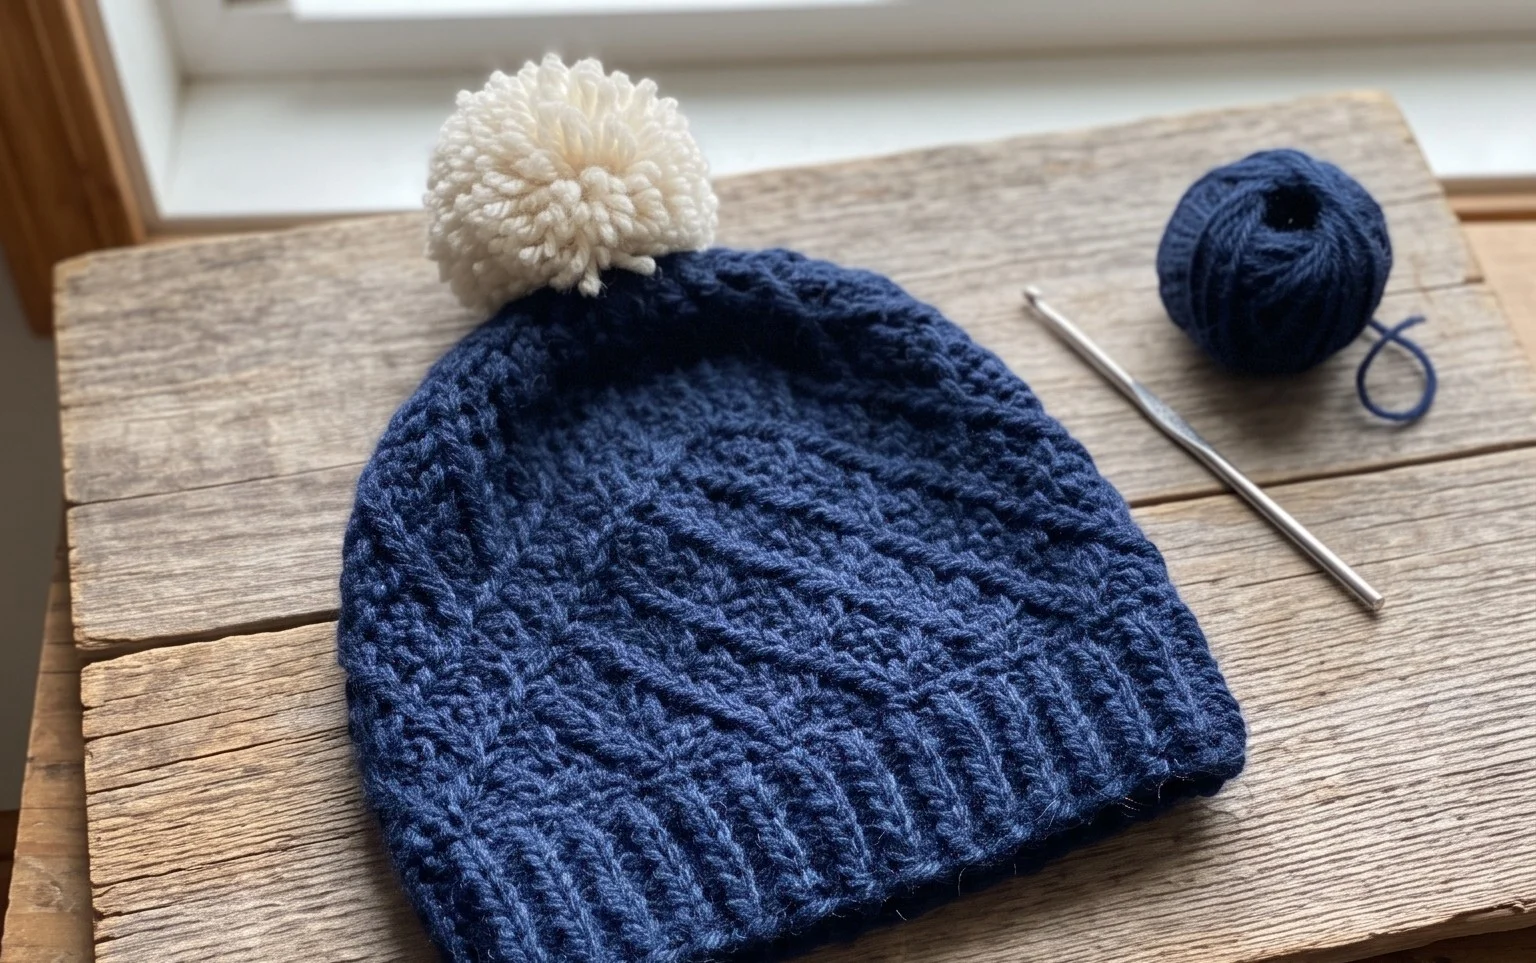
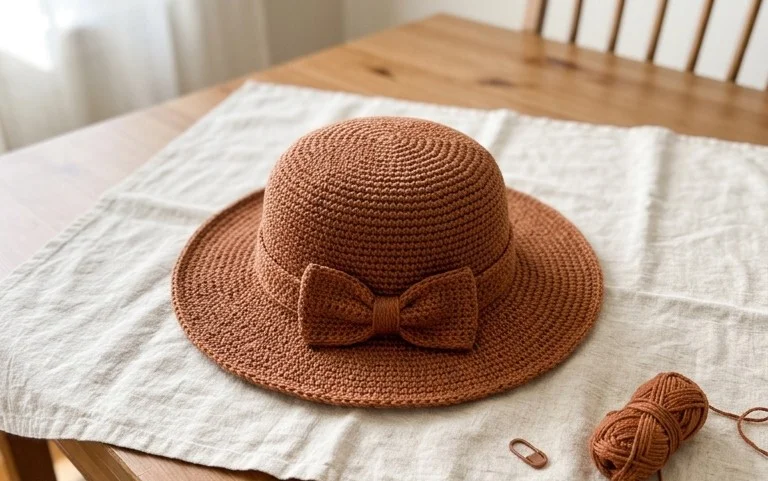
A soft crochet hat topped with a neat bow has a playful shape and a cozy feel for chilly walks, school mornings, or a handmade birthday gift. The bow adds a sweet detail without making the finished hat feel fussy, and you can choose a quiet neutral shade or a bright color that stands out. This project suits beginners who are comfortable with basic crochet stitches, as well as gift makers who want a useful item with a personal touch. You’ll learn how the hat and bow come together, how to keep your stitches even, and how to finish the pieces so they sit neatly. The video offers a helpful visual guide as you work through the pattern.
Why You’ll Love This Pattern
Worsted cotton gives this square dishcloth a firm, lightly textured surface that works well for wiping counters and washing dishes. The pattern uses single crochet worked in straight rows, so you can focus on keeping the edges even rather than remembering a complicated repeat. It takes about two to three hours, and one ball of cotton is usually enough. The finished cloth measures about 8 inches square, a handy size for everyday kitchen use or a small handmade gift.
The rows were easy to keep track of, and my cloth came out close to the suggested size. I used it after its first wash and it felt soft but sturdy.
— Mara, home crocheter
Pattern Overview & Skill Level
- Skill Level: Beginner. You need to chain and make single crochet stitches.
- Approximate Time: 2–3 hours, depending on your pace and how often you check your stitch count.
- Construction: The cloth is worked flat in back-and-forth rows, beginning with a foundation chain. It has no separate border or sewn seams.
- Finished Dimensions & Sizing: About 8 × 8 inches (20 × 20 cm) when the gauge is 16 stitches and 18 rows per 4 inches (10 cm) in single crochet. Individual tension and washing can change the final measurements.
For the most reliable size, make a small gauge swatch before starting. If your swatch has more than 16 stitches across 4 inches, try a larger hook. If it has fewer, try a smaller hook. Cotton can relax after washing, so measure the swatch after it has been washed and dried according to its label.
Materials & Supplies Needed
- Yarn: About 100–110 yards (91–101 m) of worsted-weight (#4) cotton yarn in one color. A smooth, tightly spun cotton is absorbent and holds up well to repeated washing.
- Hook Size: 4.5 mm / US 7. Use another size if needed to match gauge.
- Notions: Tapestry needle for weaving in the ends, scissors, and a ruler or tape measure. A stitch marker is optional for marking the first stitch of a row.
- Safe substitutions: Use another worsted-weight cotton or cotton blend with a similar thickness. A thinner yarn will make a smaller, lighter cloth; a thicker yarn will make a larger, heavier one and may use more yarn. Acrylic can be used, but it may absorb water differently from cotton, so check its care label before choosing it for a dishcloth.
Stitch Guide & Abbreviations (US Terms)
- ch: Chain. Yarn over and pull through the loop on the hook.
- sc: Single crochet. Insert the hook in the indicated stitch, yarn over and pull up a loop, yarn over and pull through both loops on the hook.
- st / sts: Stitch / stitches.
Work into the top loops of each stitch unless the instructions say otherwise. The turning chain does not count as a stitch, so make the first single crochet of each row in the first stitch at the base of the chain.
Step-by-Step Pattern Instructions
Dishcloth
- Foundation: Ch 33. Keep the chain loose enough to work into without stretching the bottom edge.
- Row 1: Sc in the second ch from the hook and in each ch across. Turn. (32 sts)
- Rows 2–36: Ch 1, sc in each st across, turn. The ch 1 does not count as a stitch. Repeat this row until you have completed Row 36. (32 sts each row)
Lay the cloth flat and check that it is close to 8 inches square. If it is noticeably longer or shorter, use the washing and drying method recommended for your yarn before making a final size check. Cotton may shift slightly after its first wash.
Finishing
- After Row 36, fasten off, leaving a yarn tail about 6 inches (15 cm) long.
- Thread the tail onto a tapestry needle. Weave it through several stitches on the wrong side, change direction, and weave through a few more stitches to help secure it. Repeat with the starting tail.
- Trim the remaining ends close to the fabric without cutting into the stitches. Smooth the cloth flat and shape its edges gently.
Care & Washing Instructions
- For cotton yarn, machine wash with like colors in warm water, around 40°C (104°F), or follow the yarn label if it gives different directions.
- Dry flat when practical, smoothing the square while damp; use a dryer only if the yarn label permits it.
- Reshape the damp cloth into a square by gently easing its sides and corners; blocking is optional for this simple project. If the fiber is unknown, follow the yarn label.
Pro Tips & Common Mistakes to Avoid
- Keep your tension steady, especially in the foundation chain. A tight chain can pull the lower edge inward even when the rows above are the right width. If this happens often, use a hook one size larger for the chain only.
- Count 32 stitches at the end of each row. Place a marker in the first stitch if you tend to miss it after turning; the turning chain does not replace that stitch.
- Weave in both yarn ends on the wrong side, passing the needle through stitch backs and changing direction once. Avoid tying a bulky knot, which can leave a hard spot in a cloth that gets handled and washed often.
- To adjust the width, add or remove an even number of foundation chains while keeping the same stitch pattern. Each added chain gives roughly ¼ inch of width at the stated gauge, and a wider cloth uses more yarn. Add or remove rows to change the length.
Frequently Asked Questions
Can I use a different fiber instead of cotton?
A cotton blend with a similar worsted thickness is the closest substitute. Acrylic can work for general cleaning, but it may absorb water less effectively. Different fibers can also change the drape, finished size, and care needs, so check the label and make a gauge swatch.
How can I make the dishcloth larger or smaller?
Change the foundation chain to adjust the width, then work more or fewer rows to adjust the length. Keep an even stitch count for a balanced square, and expect a larger cloth to need additional yarn and time.
Is this pattern suitable for a beginner?
Yes. It uses chains and single crochet stitches worked in straight rows. The main points to watch are making the first stitch after each turn and counting 32 stitches so the sides stay straight.
Can I sell dishcloths made from this pattern?
Check the pattern designer’s terms before selling finished items, and follow any rules they provide. If no terms came with the pattern, ask the designer for permission rather than assuming commercial use is allowed.
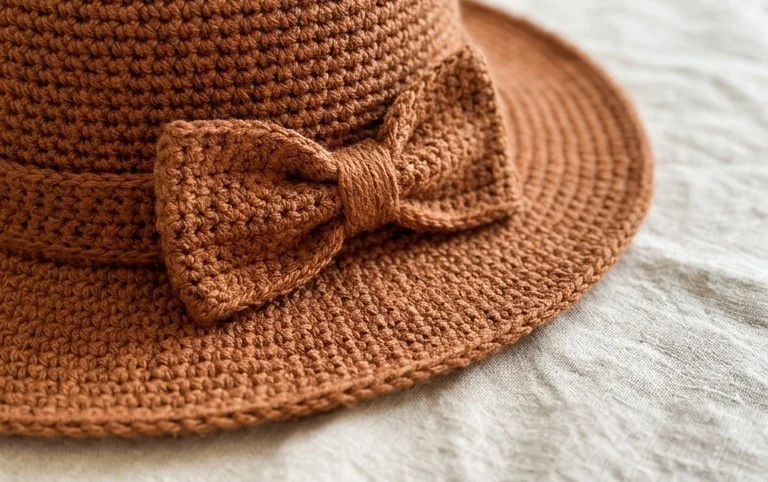
A finished bow hat brings a cheerful handmade touch to a cool-weather outfit, and the attached bow gives a simple crocheted hat its own character. For a quick variation, use a contrasting color for the bow while keeping the hat in a shade that is easy to wear. You could also adjust the size to suit the person who will wear it, checking the fit as you go. When yours is ready, share a photo on Pinterest or your favorite social media account so other makers can see your color choices and finishing details. Then browse the blog for more free crochet patterns to keep your hooks busy.