Easy Christmas Tree Ornaments: Free Crochet Patterns
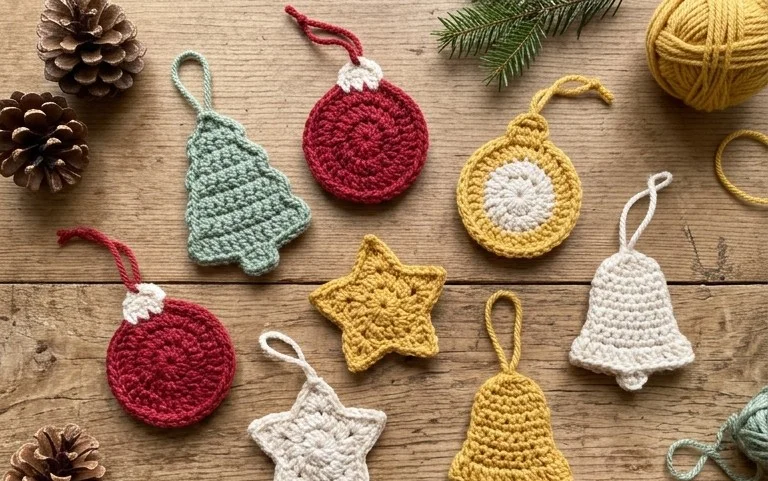
Small, handmade decorations carry a weight that store-bought plastic bulbs simply cannot match when you hang them on a pine branch. These soft, stuffed figures feel substantial in your hand and bring a quiet, personal warmth to your living room during the coldest months of the year. Whether you want to fill your home with handmade cheer or create thoughtful gifts for friends, these projects offer a quick way to practice shaping loops into identifiable forms. You will learn how to maintain consistent tension to keep your stuffing hidden, ensuring each piece holds its intended shape firmly for many holidays to come.
Why You’ll Love This Pattern
Creating a crochet whale is a rewarding exercise in mastering the magic ring and working in continuous spirals. This project utilizes simple increases and decreases, making it an excellent choice for those looking to build confidence in their amigurumi skills. Because the pattern uses a small amount of worsted weight yarn, it works perfectly as a stash-buster for those leftover skeins in your craft bin. The finished whale fits comfortably in the palm of your hand, making it a portable project that you can finish in a single afternoon.
I managed to whip up three of these cute whales in one weekend using yarn from my scrap pile. The instructions for the fins were easy to follow and the shaping turned out exactly as pictured.
— Sarah, amigurumi hobbyist
Pattern Overview & Skill Level
- Skill Level: Beginner
- Approximate Time: 2 to 3 hours
- Construction: Amigurumi style worked in continuous rounds, with fins and tail worked separately and sewn on.
- Finished Dimensions & Sizing: Approximately 4 inches long and 3 inches wide using recommended materials.
Materials & Supplies Needed
- Yarn: Worsted weight (#4), 100% cotton or acrylic blend, approximately 30 yards. Blue for the body and white for the belly.
- Hook Size: 3.5 mm (E-4) crochet hook to ensure tight stitches that keep stuffing from showing through.
- Notions: Polyester fiberfill stuffing, 6mm safety eyes, tapestry needle for sewing, and stitch markers to track rounds.
- Safe yarn substitutions: You may use DK weight yarn with a 3.0 mm hook for a smaller whale, or bulky weight yarn with a 5.0 mm hook for a larger, plush version. Adjust your fiberfill amount accordingly for larger sizes.
Stitch Guide & Abbreviations (US Terms)
- MR: Magic Ring
- ch: Chain
- sc: Single crochet
- inc: Increase (2 sc in one stitch)
- dec: Decrease (sc two stitches together using the invisible decrease method for a cleaner look)
- sl st: Slip stitch
- st(s): Stitch(es)
Step-by-Step Pattern Instructions
Whale Body
The body is worked in continuous rounds. Place a stitch marker at the start of each round to keep track of your progress.
- Rnd 1: Start 6 sc in a MR (6 sts)
- Rnd 2: Inc in each st around (12 sts)
- Rnd 3: 1 sc, 1 inc repeat 6 times (18 sts)
- Rnd 4: 2 sc, 1 inc repeat 6 times (24 sts)
- Rnd 5: 3 sc, 1 inc repeat 6 times (30 sts)
- Rnds 6-12: Sc in each st around (30 sts)
- Rnd 13: 3 sc, 1 dec repeat 6 times (24 sts)
- Rnd 14: 2 sc, 1 dec repeat 6 times (18 sts). Insert safety eyes between rounds 9 and 10, spaced 6 stitches apart. Begin stuffing the body firmly.
- Rnd 15: 1 sc, 1 dec repeat 6 times (12 sts)
- Rnd 16: Dec 6 times (6 sts). Fasten off and weave in ends, closing the remaining hole.
Fins (Make 2)
- Rnd 1: Start 4 sc in a MR (4 sts)
- Rnd 2: 1 sc, 1 inc repeat 2 times (6 sts)
- Rnd 3: Sc in each st around (6 sts)
- Fasten off, leaving a long tail for sewing. Do not stuff the fins.
Tail Fluke
- Row 1: Ch 5, starting in second ch from hook, 4 sl st (4 sts)
- Row 2: Ch 3, turn, 3 sl st in chs, sl st into the base of the first row (6 sts)
- Fasten off and sew to the back of the body.
Assembly
Pin the fins to the sides of the whale, aligned with the position of the eyes. Use the tapestry needle and yarn tail to whip stitch the fins securely to the body. Attach the tail fluke to the center-back of the whale using a sturdy running stitch to ensure it stays upright.
Care & Washing Instructions
- Hand wash in cool water using a gentle detergent specifically designed for delicate fibers.
- Avoid wringing out the whale; instead, press it between two towels to remove excess moisture.
- Lay the whale flat on a clean surface in a well-ventilated area to air dry completely, reshaping it with your hands if necessary.
Pro Tips & Common Mistakes to Avoid
- Maintain consistent tension throughout the project; if your stitches are too loose, the stuffing will poke through the gaps between stitches.
- Always move your stitch marker up to the first stitch of the new round as you work, rather than relying on visual memory.
- When weaving in your yarn ends, carry the thread through the interior of the stuffed body several times before trimming to ensure the tails do not work their way out.
- If you decide to scale up the pattern using thicker yarn, remember that you will need approximately 50% more stuffing to achieve the same firmness as the original size.
Frequently Asked Questions
Can I use buttons instead of safety eyes?
Yes, buttons can be used if you are creating this for an older child or adult. If giving to infants, stick to safety eyes or embroidered eyes to avoid potential choking hazards.
How do I make the whale larger?
You can increase the body size by adding more increase rounds after round 5, such as a 4 sc, 1 inc round, followed by additional rounds of plain single crochet before starting the decreases.
Is this pattern suitable for complete beginners?
This is a great beginner project because it focuses on the fundamental skills of working in rounds and basic shaping without the need for complex color changes or advanced stitches.
Am I allowed to sell the finished whales?
You are welcome to sell items made from this pattern, provided you credit the designer in your shop listing. Please use your own photographs rather than copying images from this tutorial.
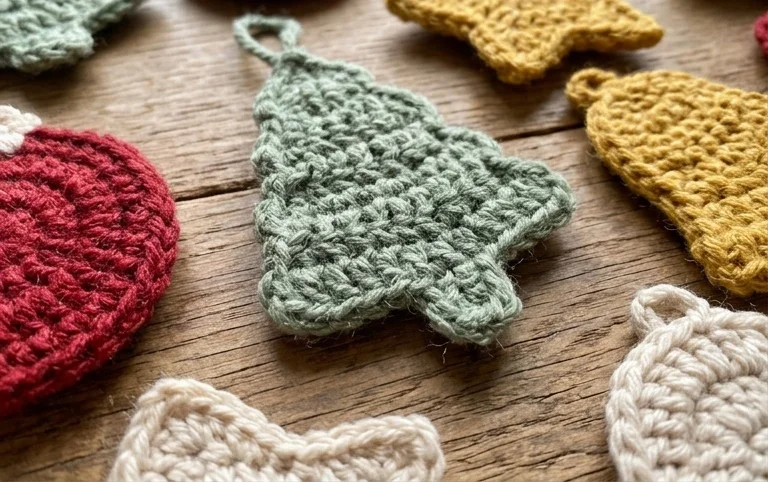
Your new handmade hanging pieces look lovely against the deep green needles of a festive fir. Try working these in metallic cotton or adding a dusting of glitter spray if you want to catch more light during your holiday gatherings. Sharing a snapshot of your completed work online helps others find inspiration for their own craft baskets during this busy season. Visit the rest of our pattern library for more ways to use your leftover yarn scraps for winter decor that lasts throughout the entire year.