Mabel Mods Rooster Edition: Easy Crochet Granny Tote
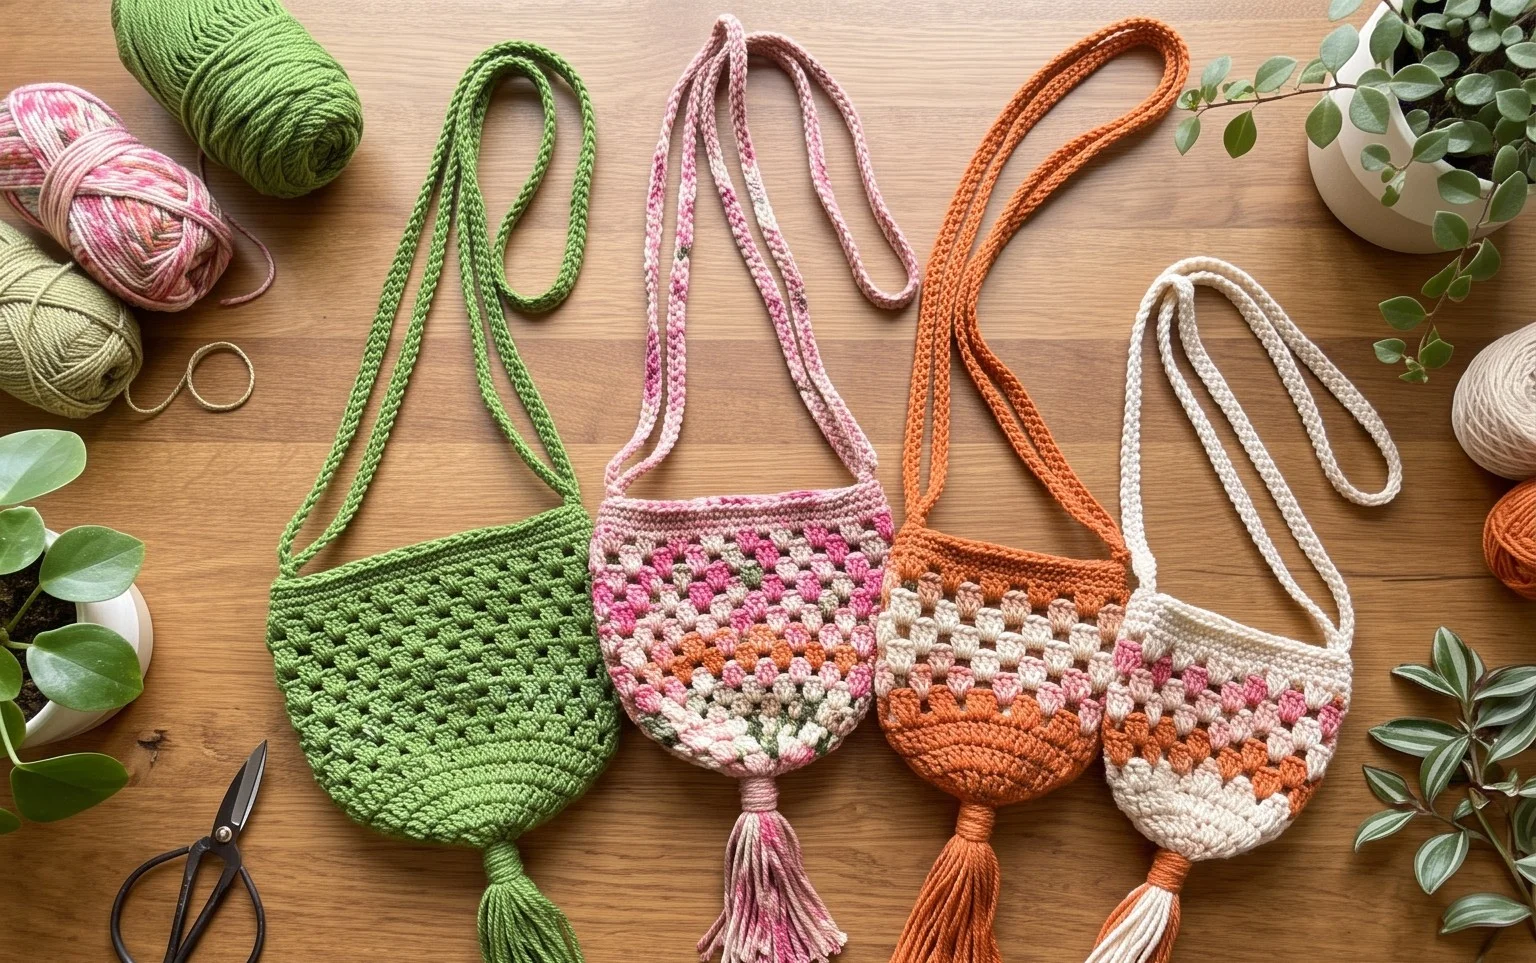
This bag uses cheerful, farm-inspired motifs that bring a bit of countryside charm to your daily errands. You will notice the thick cotton yarn creates a stiff, durable shape that holds its own when you set it down on a table or floor. It suits beginners who want to practice joining squares and anyone who enjoys making thoughtful, handmade gifts for friends. The process relies on the classic granny square method, which is simple to pick up and hard to put down. By the end of this project, you will have a sturdy accessory that shows off your personality through custom color combinations and careful assembly, turning simple yarn scraps into a functional piece of art.
Why This Project Is Worth Making
The Classic Crochet Granny Square Tote is a staple project for any fiber artist because it combines practicality with the meditative rhythm of granny square construction. You will find that joining individual motifs creates a sturdy fabric that stands up to daily use, whether you are carrying library books or market finds. It is an excellent stash-buster, allowing you to use up leftover worsted weight yarn while maintaining a cohesive look through a shared border color. Because the bag is composed of separate squares, you can easily work on small segments during short breaks in your day.
I managed to finish the entire tote over a long weekend using scraps from my stash and it feels incredibly durable for grocery trips.
— Sarah, intermediate crocheter
Pattern Overview & Skill Level
- Skill Level: Beginner
- Approximate Time: 6 to 8 hours
- Construction: 13 individual granny squares joined together with a final border and attached handles.
- Finished Dimensions: 12 inches wide by 12 inches deep (excluding handles).
Materials & Supplies Needed
- Yarn: Worsted weight (#4) cotton yarn. You will need approximately 400 yards of assorted colors for the squares and 200 yards of a neutral color for the joining and border. Cotton is recommended for its lack of stretch.
- Hook Size: 5.0 mm (H-8).
- Notions: Tapestry needle for weaving in ends, locking stitch markers for alignment, and scissors.
- Yarn Substitutions: Acrylic yarn is a safe substitute if you prefer a softer feel, though it may stretch more under the weight of items carried. Wool-blends are also acceptable, but ensure they are machine-washable for practical use.
Stitch Guide & Abbreviations (US Terms)
- ch: Chain
- st/sts: Stitch/stitches
- sl st: Slip stitch
- sc: Single crochet
- dc: Double crochet
- dc3tog: Double crochet 3 together (cluster stitch)
- sp: Space
- Granny Cluster: 3 dc worked in the same space.
Step-by-Step Pattern Instructions
The Granny Square
Make 13 squares. Each square measures approximately 4 inches.
- Rnd 1: Magic ring, ch 3 (counts as dc), 2 dc in ring, ch 2, (3 dc in ring, ch 2) 3 times. Join with sl st to top of beg ch-3. (12 dc, 4 ch-2 sps).
- Rnd 2: Sl st into next 2 dc and into the corner ch-2 sp. Ch 3, 2 dc in same sp, ch 1, (3 dc, ch 2, 3 dc) in each corner sp, working ch 1 between clusters. Join with sl st. (24 dc).
- Rnd 3: Sl st to corner sp. Ch 3, 2 dc in corner, ch 1, 3 dc in next ch-1 sp, ch 1, (3 dc, ch 2, 3 dc) in corner sp. Repeat around. Join with sl st and fasten off. (36 dc).
Assembly
Lay out the squares in a cross shape with one square for the base, four for the sides, and four for the top edges. Use the whip stitch method to join the squares through the back loops only to create a clean seam.
Handles and Border
- Rnd 1: Join the neutral color yarn at the top corner of the bag. Sc evenly around the entire top opening, placing 2 sc in each corner to maintain a flat edge. (80 sts).
- Rnd 2: Sc in each st around.
- Handle Row: Ch 50 for the handle, skip 15 sts on the bag rim, sc in next st. Continue around and repeat for the second handle.
- Final Rnd: Sc around the entire rim and across the handle chains to reinforce the strap. Fasten off and weave in all ends securely.
Care & Washing Instructions
- Hand wash in cool water with a mild detergent to prevent the fibers from pilling or stretching.
- Lay the bag flat on a clean towel to air dry, ensuring the squares are squared off to maintain the bag’s shape.
- Avoid using a tumble dryer, as heat can shrink cotton yarn and weaken the structure of the seams.
Pro Tips & Common Mistakes to Avoid
- Maintain consistent tension when joining squares; if your join is too tight, the bag will pucker, and if it is too loose, items may fall through.
- Use a stitch marker at the start of every round during the border phase to ensure your stitch count remains accurate as you move around the perimeter.
- Weave your ends in by running the tapestry needle through the back of the double crochet clusters rather than just snipping them short to prevent the knots from unravelling.
- To adjust the size, add more rounds to each granny square before joining, keeping in mind that this will increase the total yardage required.
Frequently Asked Questions
Can I use a larger hook for this pattern?
Using a larger hook will increase the size of the squares and the overall bag, but it will also create a looser, less durable fabric that may stretch significantly when loaded.
Are the handles strong enough for heavy items?
The handles are reinforced with a second round of single crochet, which provides stability. If you plan to carry heavy items, consider adding a fabric lining to the interior of the bag to distribute the weight.
Is this pattern suitable for someone who has never made a granny square?
Yes, this project is ideal for beginners. The granny square relies on basic stitches like the double crochet and chain stitch, which are foundational skills in crochet.
May I sell the bags I make using this pattern?
Please check the original designer’s specific terms regarding commercial use, as copyright policies for written patterns vary from person to person.
Your new handmade bag is ready for farmers markets or daily trips to the library, proving that basic stitches can produce something truly useful. If you want a smaller version for a child, try using a lighter weight yarn with a smaller hook to shrink the squares. Seeing your unique color choices come together is the best part, so please share a photo of your work on your favorite social media platform. Once you finish this piece, take a look at the other free patterns available on the site for more simple projects to fill your weekend afternoons.