Easy Crochet Christmas Ornaments: Free Patterns to Make
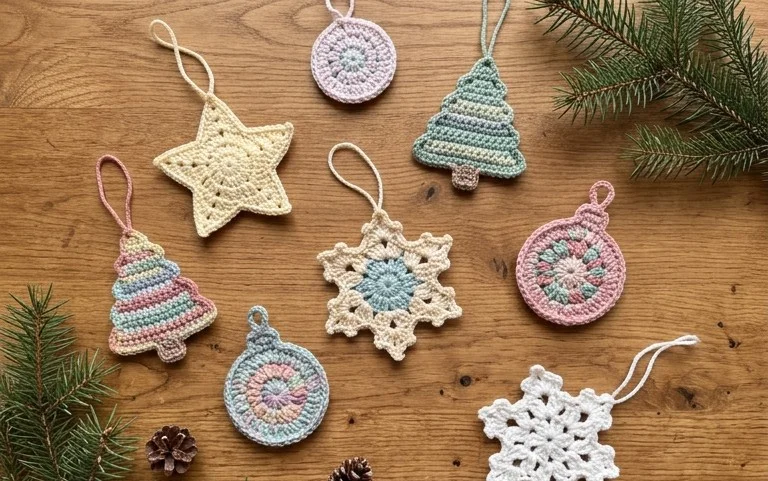
These handmade ornaments bring a soft, nostalgic warmth to a tree with their rounded shapes and smooth cotton textures. Each piece fits comfortably in the palm of a hand, making them quick to craft during quiet winter evenings while watching a favorite show. Whether you are building a collection of holiday decorations for your own living room or stitching a thoughtful gift for a friend, these simple designs offer a relaxing way to practice basic increase and decrease stitches. You will learn to maintain a consistent gauge and create tidy finishes that elevate your handmade display for years.
Why You’ll Love This Pattern
This beginner-friendly amigurumi mushroom works up quickly using minimal yarn, making it an ideal project for using up leftover scraps from larger blankets or garment projects. The design relies on a simple, continuous round construction that removes the need for joining rows, keeping the final product smooth and seamless. Its small, portable size allows you to complete the entire piece in a single sitting, and the final shape is stable enough to sit upright on any flat surface as a charming decorative accent.
I finished this mushroom in less than two hours and the instructions were easy to follow even though I am still learning how to manage tension for amigurumi.
— Sarah, hobbyist crafter
Pattern Overview & Skill Level
- Skill Level: Beginner
- Approximate Time: 1.5 to 2 hours
- Construction: Amigurumi-style continuous rounds, worked in two separate pieces (cap and stem) then sewn together
- Finished Dimensions: Approximately 3 inches tall by 3 inches wide
Materials & Supplies Needed
- Yarn: Worsted weight (#4), 100% cotton yarn in red and cream. You will need approximately 20 yards of each color.
- Hook Size: 3.5 mm (US E-4). A smaller hook than the yarn label recommends is necessary to prevent fiberfill from showing through the stitches.
- Notions: Tapestry needle, stitch markers, fiberfill stuffing, and scissors.
- Yarn Substitutions: Acrylic worsted weight yarn can be used as a budget-friendly alternative. Using acrylic may result in a slightly squishier texture compared to the firmer structure of cotton.
Stitch Guide & Abbreviations (US Terms)
- MR = magic ring
- ch = chain
- sc = single crochet
- inc = 2 sc in the same stitch
- dec = single crochet 2 stitches together (invisible decrease preferred: insert hook into the front loops only of the next 2 stitches, yarn over, pull through, yarn over, pull through 2 loops)
- st/sts = stitch/stitches
- sl st = slip stitch
- FO = fasten off
Step-by-Step Pattern Instructions
Mushroom Cap
Using red yarn, work in continuous rounds.
- Rnd 1: Start 6 sc in a MR (6 sts).
- Rnd 2: 2 sc in each st around (12 sts).
- Rnd 3: (1 sc, inc) repeat 6 times (18 sts).
- Rnd 4: (2 sc, inc) repeat 6 times (24 sts).
- Rnd 5: (3 sc, inc) repeat 6 times (30 sts).
- Rnd 6-9: sc in each st around (30 sts).
- Rnd 10: (3 sc, dec) repeat 6 times (24 sts).
- Rnd 11: (2 sc, dec) repeat 6 times (18 sts). FO, leaving a long tail for sewing.
Mushroom Stem
Using cream yarn, work in continuous rounds.
- Rnd 1: Start 6 sc in a MR (6 sts).
- Rnd 2: 2 sc in each st around (12 sts).
- Rnd 3: (1 sc, inc) repeat 6 times (18 sts).
- Rnd 4: Working in BLO, sc in each st around (18 sts).
- Rnd 5-8: sc in each st around (18 sts).
- Rnd 9: (1 sc, dec) repeat 6 times (12 sts). Stuff the stem firmly.
- Rnd 10: (dec) repeat 6 times (6 sts). FO and close the hole.
Assembly
Stuff the cap lightly with fiberfill. Center the stem over the flat bottom of the cap. Using the long tail left on the cap, sew the cap to the top of the stem using a whip stitch, catching one stitch from the cap and one from the stem until the pieces are securely joined.
Care & Washing Instructions
- Hand wash gently in cool water with a mild detergent to avoid misshaping the fiberfill stuffing.
- Gently squeeze out excess water, then lay the mushroom flat on a towel in the shade to air dry completely.
- If the shape compresses during storage, gently squeeze and roll the piece between your palms to restore its original form.
Pro Tips & Common Mistakes to Avoid
Maintain consistent tension throughout your rounds; even slight variations can cause unsightly gaps where the stuffing might show. Always place a stitch marker in the first stitch of every round to keep track of your progress, as it is easy to lose count in continuous spirals. When weaving in your ends, run the needle through the interior of the piece multiple times to ensure the yarn is locked firmly in place. You can easily adjust the size of the mushroom by adding or subtracting increase rounds at the beginning, but be aware that increasing the size will require a proportional increase in the amount of yarn and stuffing needed.
Frequently Asked Questions
Can I use a different weight of yarn for this pattern?
Yes, you can use any yarn weight, provided you adjust your hook size to be smaller than what the yarn label recommends to maintain a tight fabric. Keep in mind that using a different yarn weight will significantly change the final dimensions of the mushroom.
Is it necessary to use a magic ring for the start?
A magic ring provides the tightest possible start for amigurumi, preventing a hole in the center. If you find it difficult, you can chain 2 and work your first round of stitches into the second chain from the hook, though you may need to close the resulting small hole with your yarn tail during finishing.
Can I sell the items I make from this pattern?
You are welcome to sell finished items created from this pattern. I only ask that you credit the designer and provide a link to this original tutorial in your product listing.
How do I keep my edges from curling when starting the stem?
The instructions for the stem include a round worked in the back loops only (BLO) at round 4. This specific technique creates a natural fold, helping the base of the mushroom sit flat against the ground.
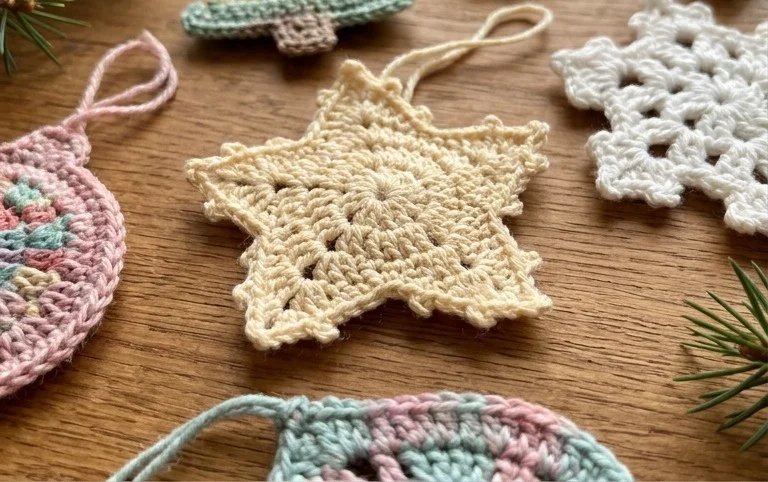
Your finished mushroom decoration adds a lovely, understated charm to any holiday setting this season. If you want to expand your collection, try working the cap in a deep forest green or adding small white spots with a few simple embroidery stitches. You can find more free ornament projects on our blog to keep your hooks busy throughout December. Please share a photo of your completed work on social media so we can see how your color choices turned out alongside your other seasonal decorations.